Gelatin Hypertrophic scaring

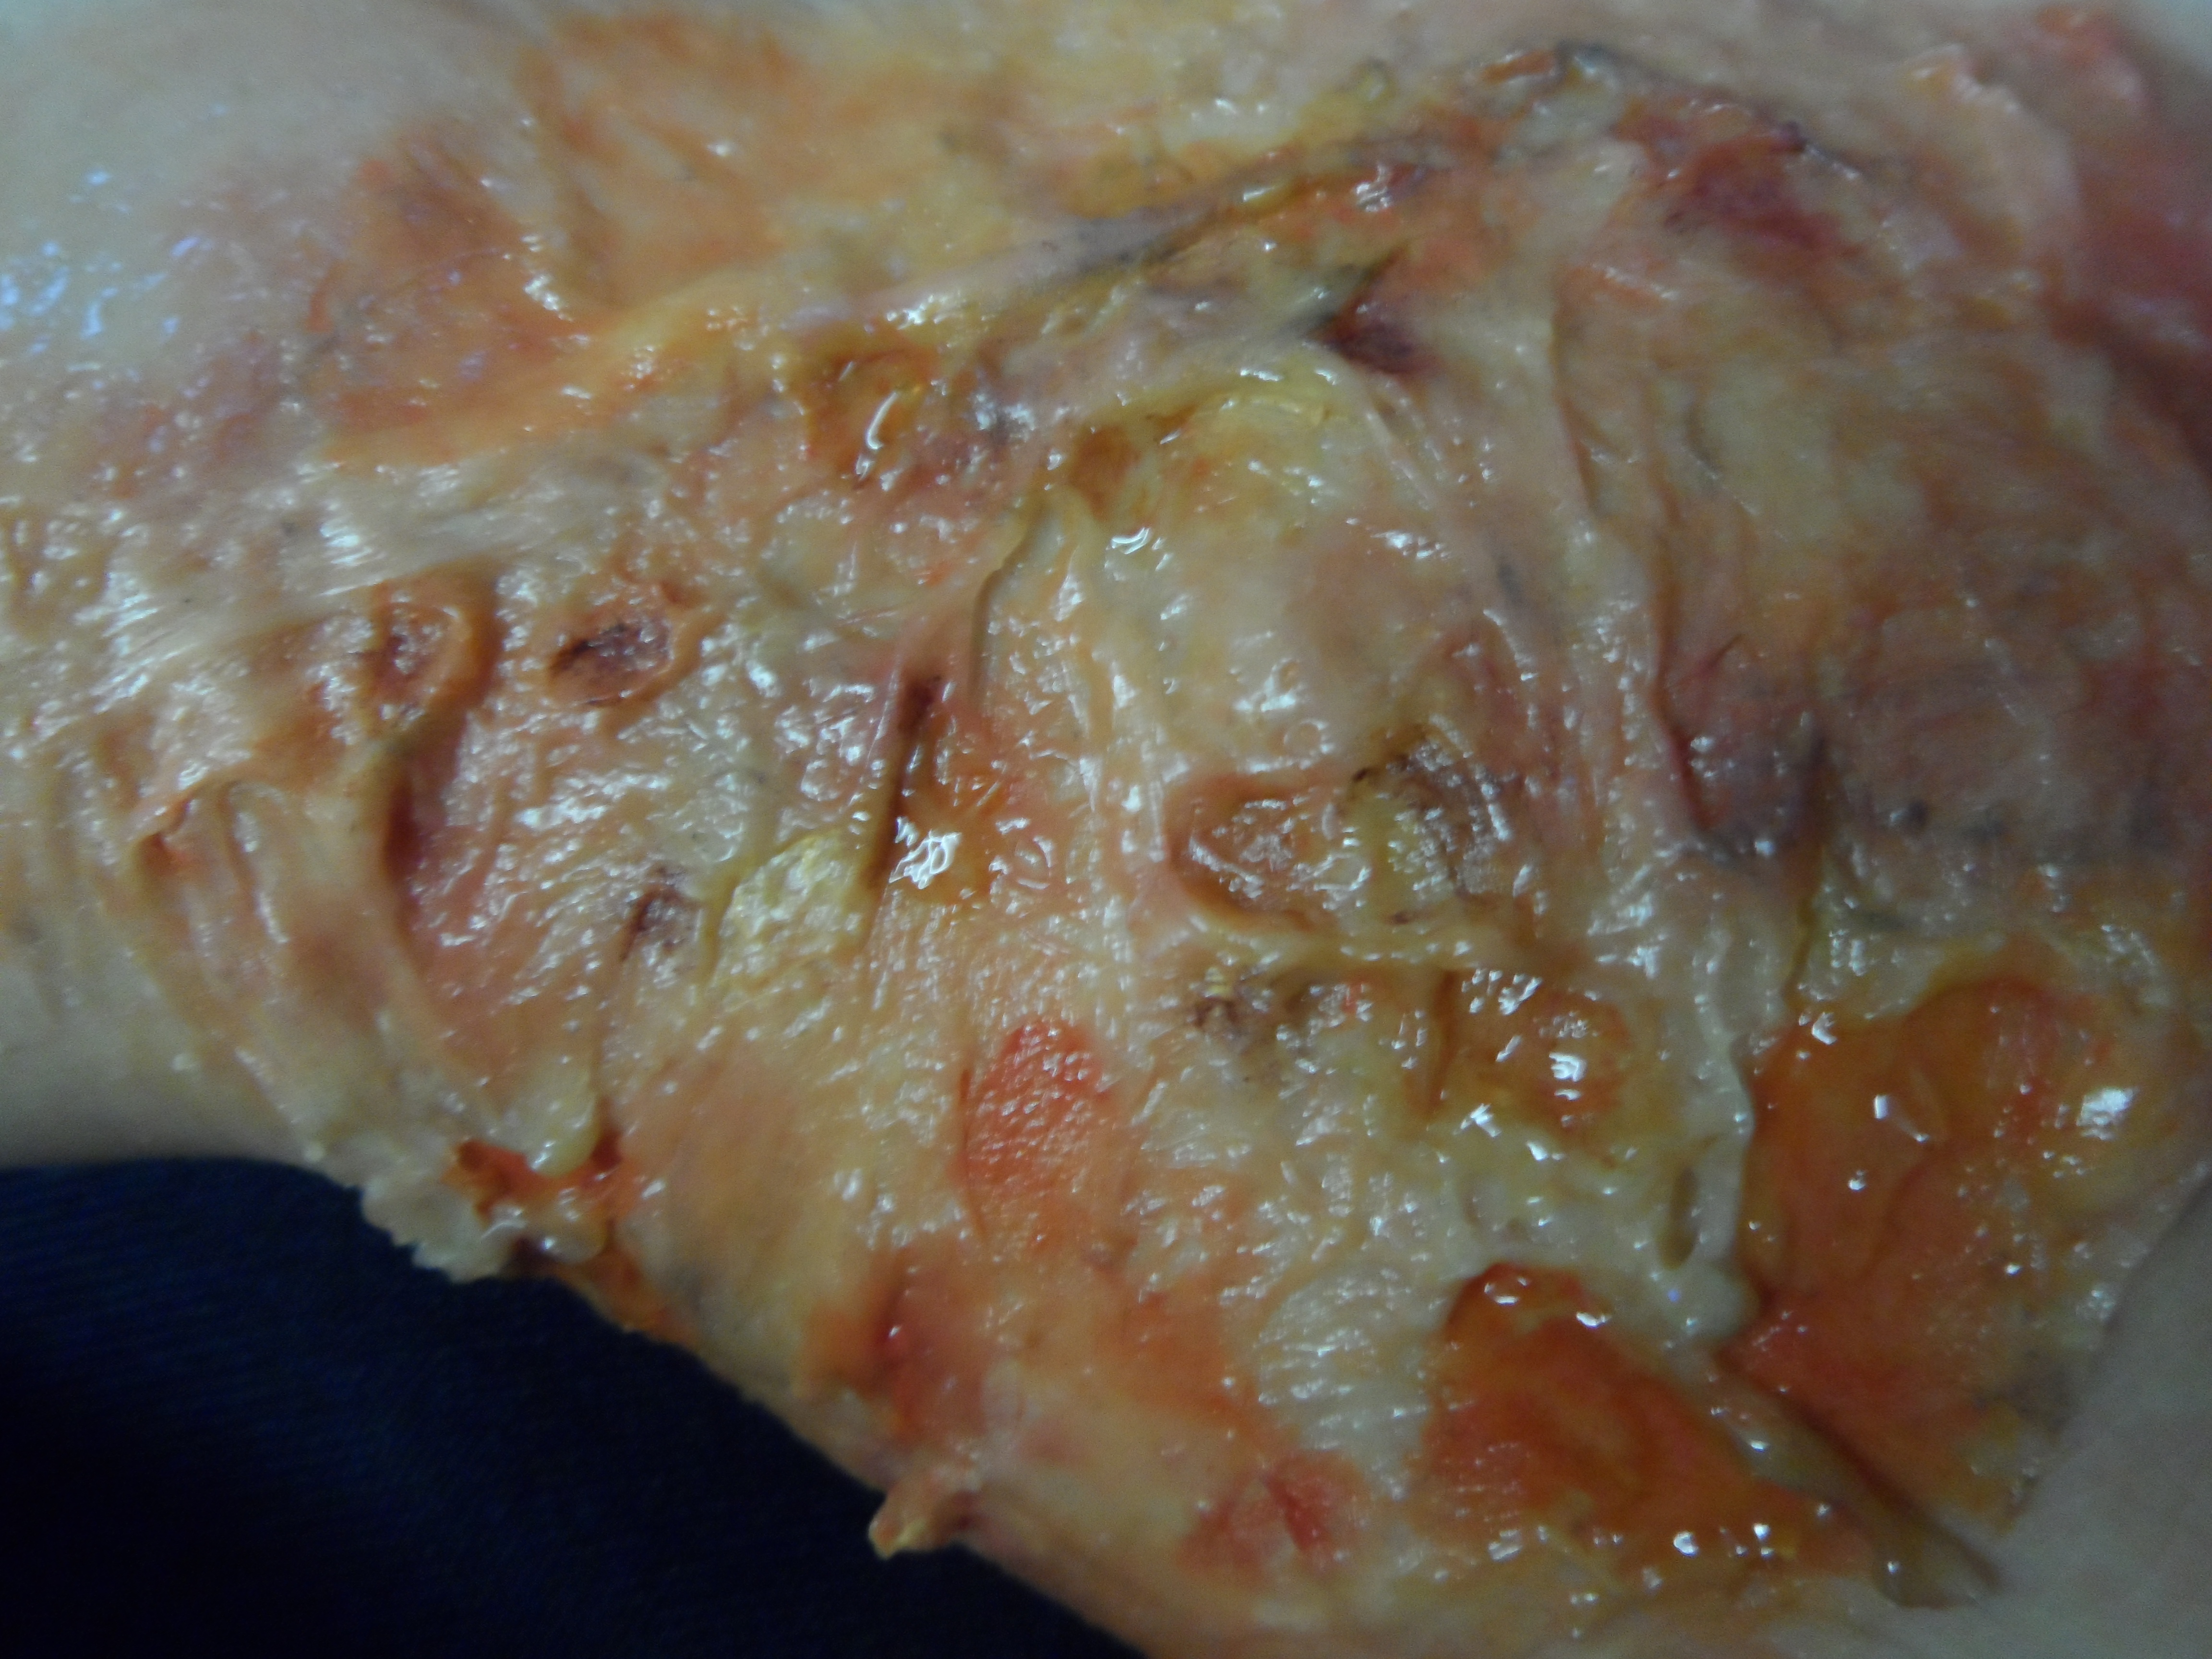
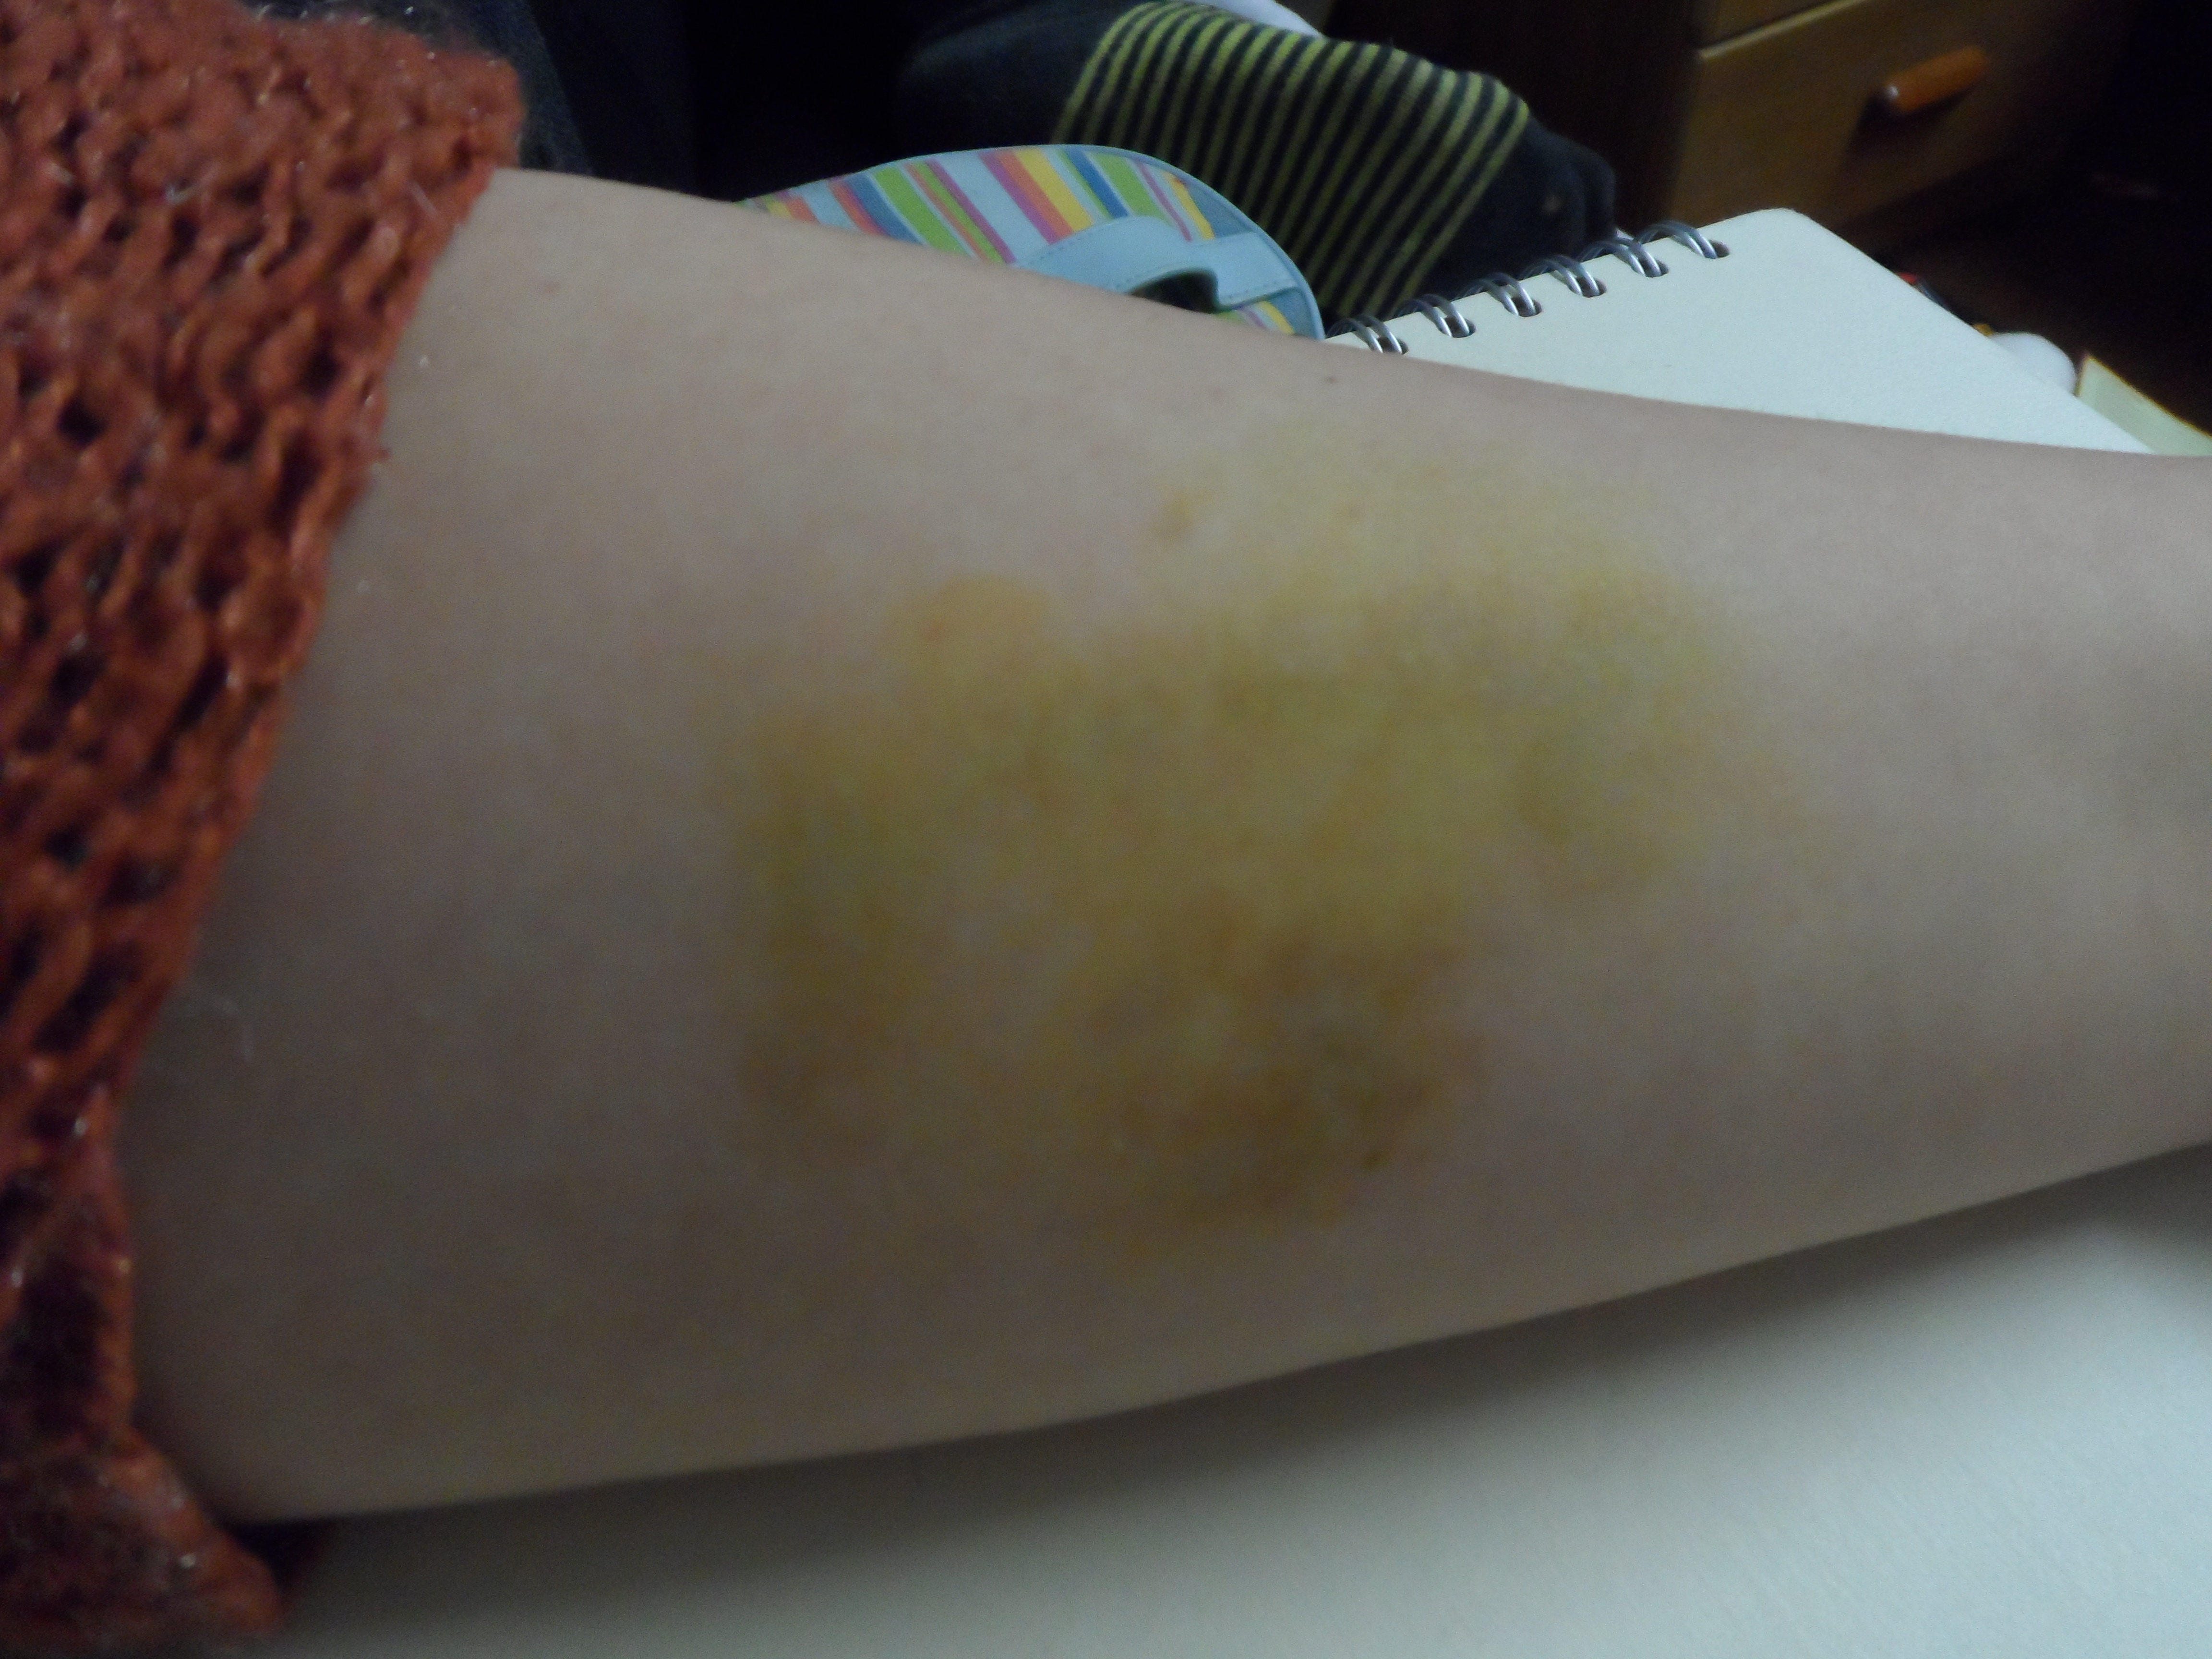
Hi everyone so this week in my special effects lesson we started making and using gelatin and we created the effect of hypertrophic HYPERTROPHIC scaring which is , when the skin produces too much collagen which makes the scared tissue raise up and creates a dark pigmented scar that in time can fade in color as the scaring settles over time. There are many different causes of hypertrophic scaring such as body piercings, burns and ache. Hypertrophic scars often limits the skins elasticity and become more sensitive to different environments.
I decided to do fresh/burnt scaring here are some pictures of what i created and how i did it enjoy :
from last laptop 214href=”https://bexsmakeupbox.wordpress.com/wp-content/uploads/2013/02/from-last-laptop-198.jpg”>from last laptop 198from last laptop 222

what you will need :
Gelatine , grease paints
how to do this makeup effect:
•Place gelatin in the microwave for no more than 20seconds at a time continue this process unit the gelatin is melted.
•Make sure the gelatin is at correct temperature before applying to skin so as not to burn the actor
•Using a finger apply to skin and by dragging it from the outside in to get a smooth edge but still create the raised up texture in the center. And leave to set.
Gelatin , grease paints
•Add the grease paint (Kryolan B Pallet) for color . began by adding a tiny amount of red to give the gelatin a pink tinge before adding a little amount of blue to create the illusion of veins under the scaring .

Next time i create this effect i will attempt to create old scaring, instead of adding burns to it as i think older scaring would look more realistic without the burns . I found it easy to work with the gelatin and i am looking forward to using more often in the future .

Bruises using Glynn McKay Bruise Gels

bruises are formed when something impacts the skin and capillaries in the subcutaneous layer of the skin or muscle fibers are damaged or broken. But does not puncture the skins epidermis layer so Red blood cells then leak from the capillaries and collect, as they cannot leave the body so are trapped in the layers of skin causing the red, purple or black marks under the skin that causes a new bruise.  After time the blood starts to rot and take on a yellow and brown colour this is called an old bruise and the tissue underneath stats to heal. You can use a Kryolan bruise wheel or Glynn McKay bruise gels to recreate a bruise both have a great visual effect to the eye but you would pick a certain product depending on the environment that is being recreated in.

This blog post will focus on using the bruise gels , In my special effects class we were shown a demo on how to  use Glynn Mckay bruise gels to create a realistic new and old bruise . At first i found it hard to work with these products but with  a bit  of practice i got the hang of it .But in order for the bruises to show up on camera especially the old bruise i had to apply quite a bit of the gels . this could create a problem when using them for TV and film .  Hear are some pictures of my new and old bruises using the gels .

new bruise :

from last laptop 387

Products used :

light red , blue and purple bruise gels

How to create a bruise :

With GM bruise gels apply light red in a random shape, tap a small amount of blue over this to add definition add a small amount of purple.

Old bruise:

begining of december 20121 009

products used :

yellow , brown, green , blue bruise gels

how to create an old bruise :

For the GM bruise gels apply yellow in a random shape, add brown over the top then green and blue for depth. lift any colour off with a wet wipe . lift any colour off with a wet wipe

Skin bases -dewy skin and flawless skin

Hi everyone , in my first semester we are getting to grips with the products used by makeup artists , as a basis for this course in my first set of lessons in media makeup  we were shown how to create different skin bases . We practiced a dewy finishes using mac face and body , and a matte Finnish using mac studio fix cream foundation. For my dewy skin look I had to make sure I was using completely clean and fresh skin , so I cleansed , toned   and moisturised the skin.  By doing this I could create a no makeup look . I also had to make sure the foundation was a really good match for the model so i tested different mac face and body foundations on the jaw line to find a good match for the models skin. I also concealed  any blemishes to make sure  the skin looked fresh had healthy  Hear are some pictures of my dewy skin look .

Thanks for taking the time to look

Bex

ImageImage
In class we were shown a tutorial on flawless matte skin. I then recreated the look using MAC studio tec foundation and using ben nye banana powder . By using Mac studio tec foundation I cancelled out all the colour in the skin so I had to use blusher to add colour back into the skin. I also added red lips .
Hear are the pictures of the final look
Thanks for taking the time to look
Bex

skills test

Hi everyone , this post is about my first media makeup look I created for a skills test  , this look was titled  female warrior. I took inspiration from : rihannas ‘where have you been’ video and inspiration from the necklace I used as the head dress . I created a feathered eye brow look similar to the one  from rihannas video, as I wanted my makeup look  to have a strong brow to represent her strength and give her a hint of masculinity. BY taking inspiration from the necklace I used the colours gold, orange and brown for the colour pallet for this look . I also saw a tutorial on YouTube on  how to create the zebra look down the side of the nose which I used in this look .

Before I did the look in class I decided to do some trial runs. I developed the look  a few times unit I was happy with the final piece . I then produced  a face chart .

Unfortunately I didn’t think of the type of hair my models  had . On the application day  I had to adapt the hair . But you can see from my practice runs , the style I was intending on.

Thanks for taking the time to look

Bex

this picture is from one of my practice runs you can see the hair style i was intending to create hear

Image

This picture is my final look i created in class

Image